What is an Automations Wizard?
An Automations Wizard is a quick and easy way to set up the most commonly used customer journey maps.
How do I use an Automations Wizard?
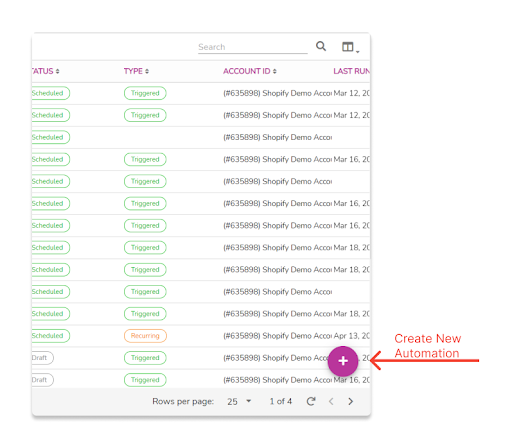
Step 1: Click the purple plus button
Navigate to the Automations page in the Patch portal. In the bottom right-hand corner of the Automations page, there is a purple plus button that when clicked will open up a dialog that contains all of the wizards.
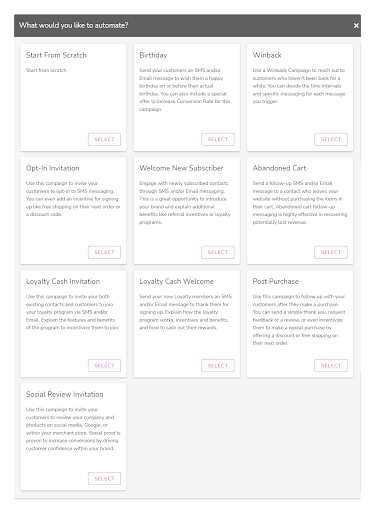
Step 2: Select a Wizard that fits your needs
From within the dialog select an Automation Wizard that will suit the needs of your business. Each Automations Wizard card includes a brief summary of what it should be used for.
Step 3: Answer all of the questions
Once you have made a selection there will be a series of questions that you should answer. These questions will determine the blocks that will be added to the customer journey map of your Automation.
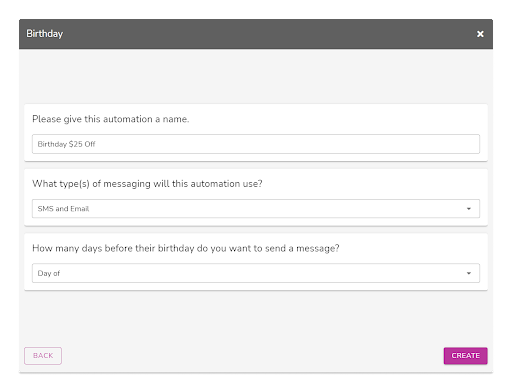
Step 4: Create the Automation
Once you have answered all the questions click the purple CREATE button in the bottom right corner. This will start the building process of the Automation.
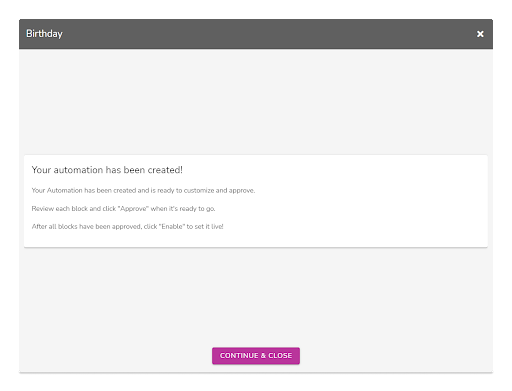
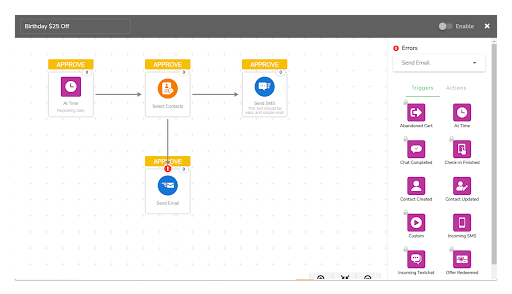
Step 5: Approve the blocks
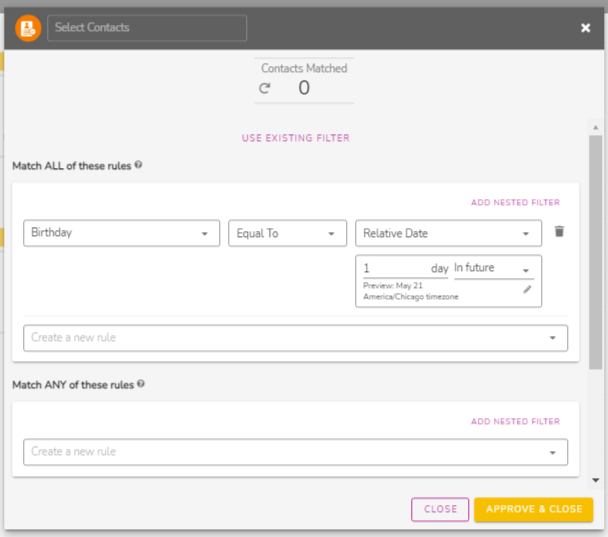
Once the customer journey map is built the Automations editor will open with all the blocks you need to run the customer journey. Each block needs your approval before the Automation can be enabled. Click the yellow APPROVE button above each block and review the settings and message content.
Take special care to check the message content of the Send Email and Send SMS blocks. These include templates that are not ready to send out without customization.
Once you have made the necessary changes and have approved the block click the SAVE & APPROVE button in the bottom right corner. Your block is now approved!
Read more about each Automation Block in these articles:
Step 6: Enable your Automation
Once all blocks have been approved the Automation must be enabled in order for it to run. Click the Enable switch button at the top right corner of the view in order to enable the Automation. You will know it is enabled when the switch button is green.
Disabled
Enabled
Step 7: Let it run! You’re Done!
Your new Automation is all set up and will run when one of its trigger blocks is notified to do so by the Patch system. Check back to view stats on the data table and each individual block to measure it’s performance! More stats can also be found on the Marketing Dashboard.