In this article:
Follow these steps to view a customer's historical activity:
- Log into your Patch account
Visit the Patch website and enter your login credentials to access your account.
https://app.patchretention.com/

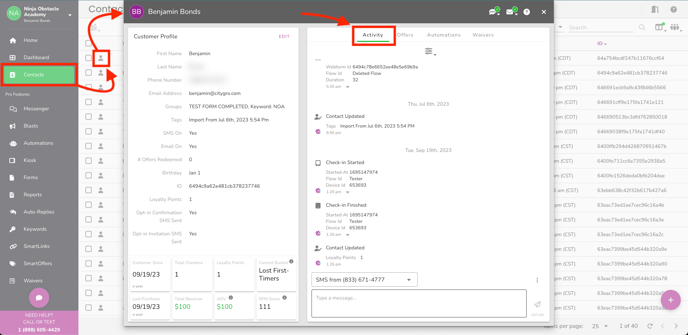
- Select the Contacts module

- You can search and select a contact by clicking on the 'person' icon to open the Customer Profile Window.

- The Activity Tab is selected by default on the row at the top within the Activity Window.
This is often referred to as the Activity Log. - It is beside the Customer Profile Window and lists the date and time an action takes place.
- Using the Activity Tab as an Event Log
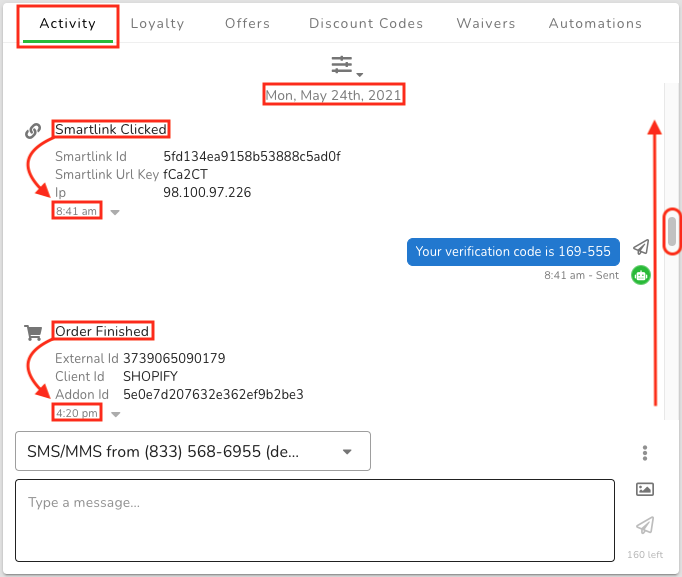
There may be a lot of historical information to scroll through, to view the entire history, you can scroll up in the ‘Activity Window’.
It will display the date and time an event occurred.
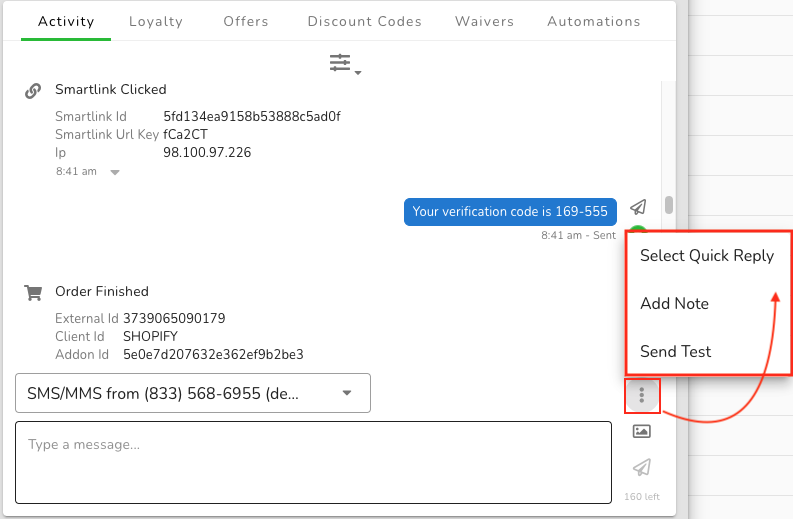
For the example below, this shows that a Smartlink was Clicked at 8:41 AM on May 24, 2021.
Later that day you can see an Order Finished at 4:20 PM on the same day.
The Activity Window will show ALL events by default but you can filter for specific activities.
In the middle of the Activity Window is the ‘Event Filter’ icon.
Clicking on this icon will display a list of event options to select. When you make your selection(s) a number in a green circle will appear above the icon.
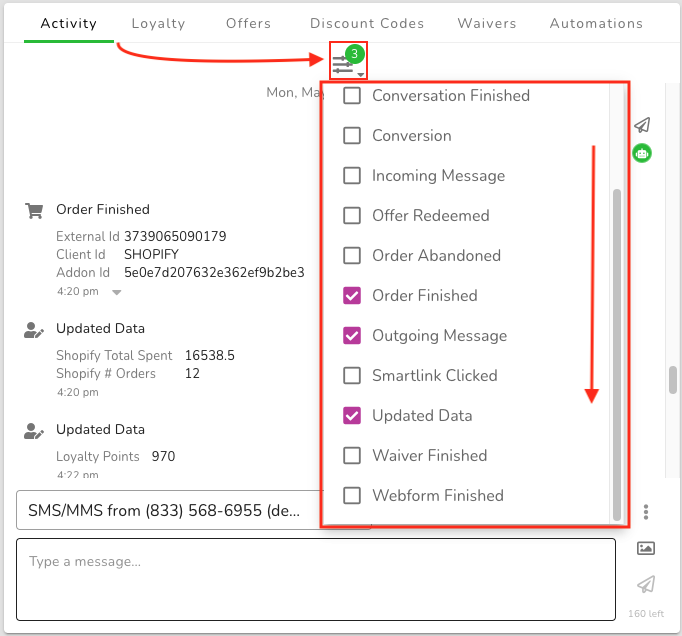
In the Event Filter you can choose from these actions:
- Check-In Finished (Physical Locations)
- Check-In Started (Physical Locations)
- Contact Created
- Contact RFM
- Contact Updated
- Conversation Finished
- Conversation Started
- Conversion
- Discount Created
- Incoming Message
- Offer Redeemed
- Order Abandoned
- Order Delivered
- Order Finished
- Order Fulfillment
- Order Out For Delivery
- Order Refunded
- Order Shipped
- Outgoing Message
- Smartlink Clicked
- Updated Data
- Waiver Finished (non-Shopify)
- Webform Finished (non-Shopify)
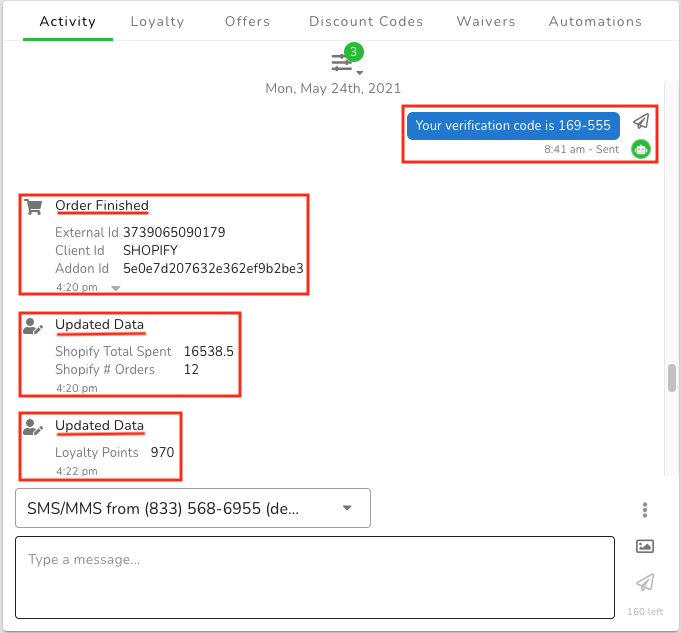
For example let’s choose 3 filter events: Outgoing Message, Order Finished, Updated Data
Only these events will be displayed in the Activity Window.
Events that appear will show the specific details of what occurred.
Using the Activity Tab to send an SMS/MMS Message
- The Activity Tab is also where you can message this contact.
There are many reasons why you may want to message your customer.
For common questions/scenarios, you can set up and use a ‘Quick Reply’
- To choose a Quick Reply, there is an icon in the lower right-hand corner of the window.
Click on the 3 vertically aligned dots to bring up your options.
Quick Replies are commonly used for frequently asked questions
Here are some Quick Reply examples:
- Store hours
- Shipping info
- Return Policy
- Location
- Gift Cards
- Out of stock
Once you select Quick Reply a window will appear with all available options.
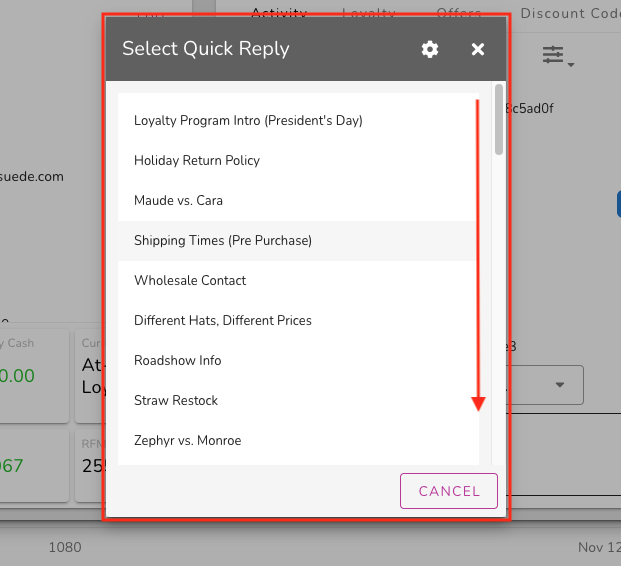
If you want to create a new Quick Reply, click here.
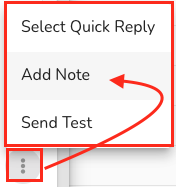
- You can also ‘Add Note’ to a customer profile. Others can view this note (internally) in the Activity Tab with the date and time it was added.
- To Add a Note, click on the 3 dots, and from the list choose the option to Add Note.
Type in the note you want to add.
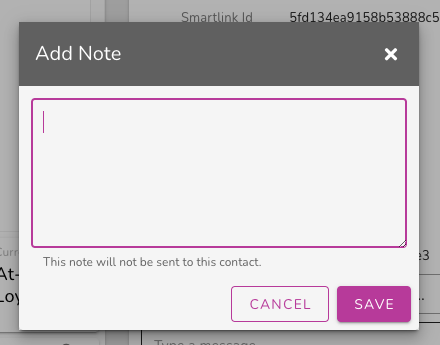
Keep in mind that the customer will not be able to view this, it is for internal use only.
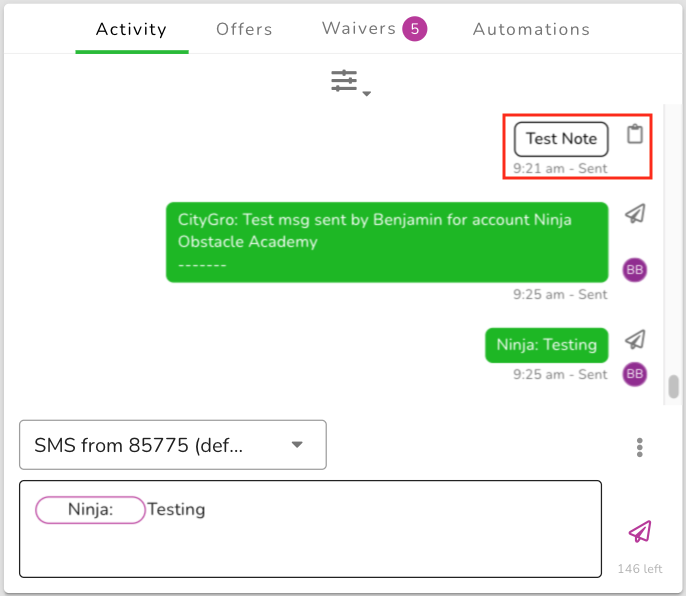
You can see that the ‘Test Note’ shows up with a white background and a clipboard icon.
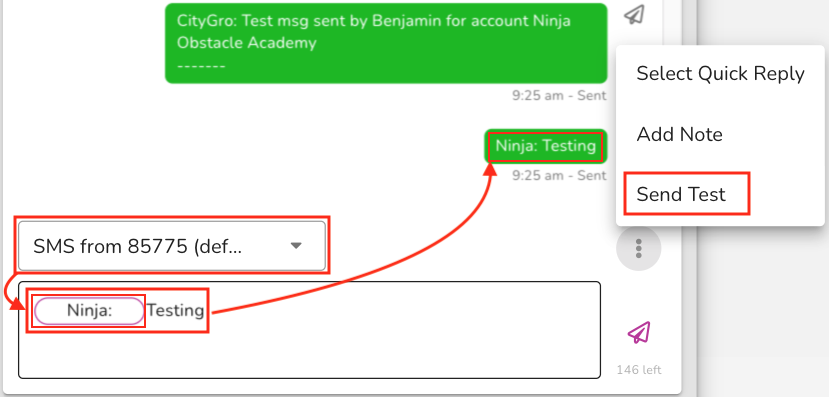
- To ‘Send a Test’ you can type in your text, then select Send Test from the 3 options.
This can help determine message-sending functionality.
Two SMS messages will be sent, the first message being a disclaimer that a test text message is coming from Patch, then a second message that contains the actual text.
There are a few things to point out here:
Be sure to choose the correct ‘Gateway’ being used.
Doing this will allow for the message to be sent via a phone number OR email!
Also, by default, the 'Short Name' of the location will be added to outbound text messages!
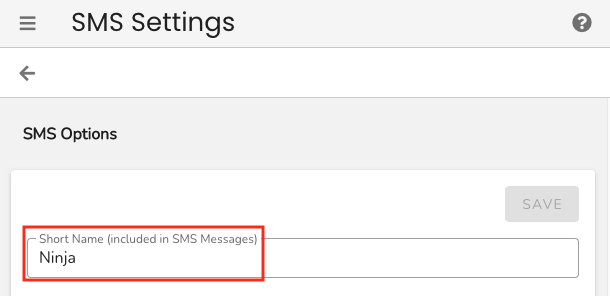
You can edit the Short Name while inside the Account Settings.
You may want to edit the name as it does consume the 160 available characters per each SMS text!
Learn more about adjusting the Short Name in Account Settings here.
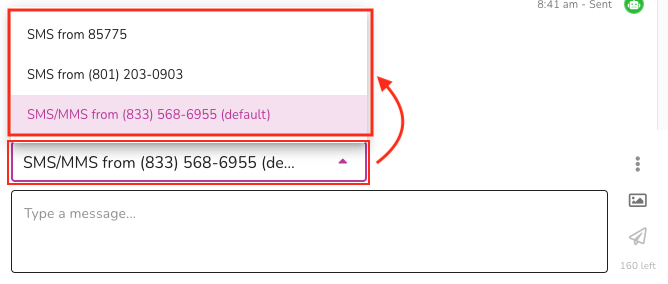
- To change the Gateway from the default setting, click on the field above the text blank message space, and choose one. A Gateway refers to a channel you have available to send messages with, and in this case, phone numbers.
The Gateways listed include full phone numbers that are often referred to as a Long Code.
Accounts must request the additional feature to send MMS messages.
If subscribed, you can attach media to the message by clicking on the ‘picture’ icon.
If you want to send your customer a custom message, you can simply type into the text box and click on the ‘paper airplane icon’ on the right of the text box to send.
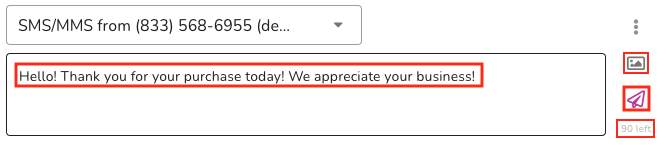
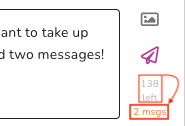
If you go over the character count, it indicates an additional message will be needed and charged. Keep an eye on these indicators to avoid the extra cost.
This means that for the text content typed, it will require an additional text message to contain over the 160 characters in the first message.
Customer Support
If you need help or need assistance determining next steps, please contact our Customer Support team by phone at 888.605.4429 or email at success@patchretention.com.